RAID 0 is a popular storage technology that allows you to improve the speed and performance of your computer. By using multiple hard drives, RAID 0 combines the storage capacity of the drives while increasing data transfer rates. In this article, we will provide a step-by-step guide on how to set up RAID 0 on your computer.
Step 1: Check Compatibility Before setting up RAID 0, you need to ensure that your computer motherboard supports RAID. To do this, refer to your motherboard manual or check the manufacturer’s website for compatibility information. If your motherboard does not support RAID, you will need to purchase a RAID controller card to use this technology.
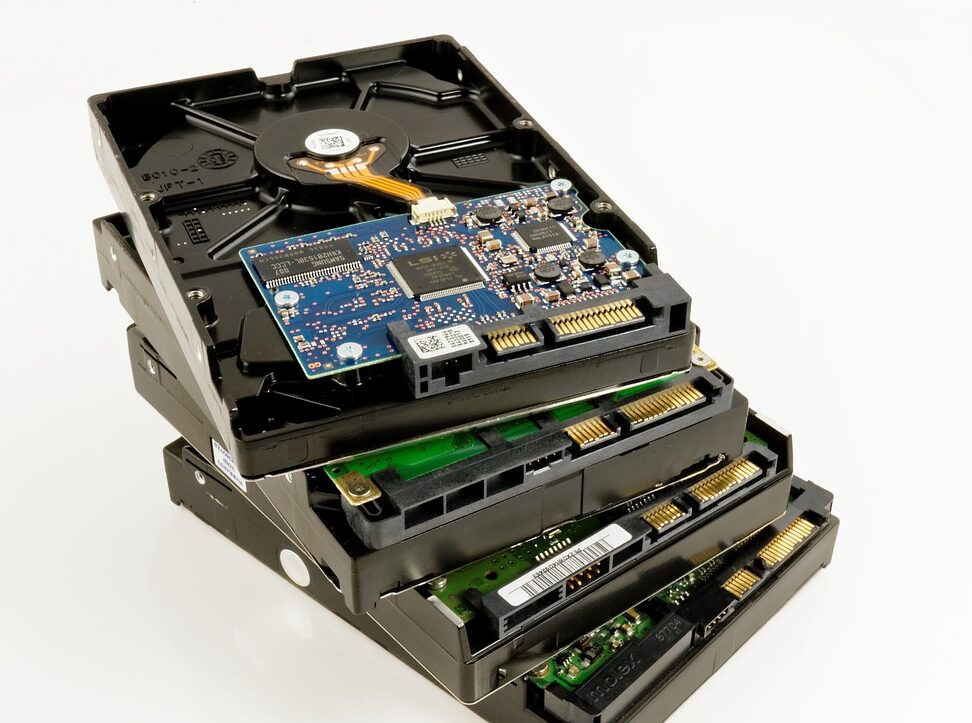
Step 2: Gather Required Hardware To set up RAID 0, you will need at least two identical hard drives with the same storage capacity. You will also need a screwdriver to install the drives and a SATA cable to connect the drives to the motherboard.
Step 3: Backup Your Data Setting up RAID 0 requires formatting your hard drives, which will erase all data on the drives. Therefore, it is essential to backup any important data before proceeding with the setup.
Step 4: Enter BIOS To configure RAID 0, you need to enter the BIOS settings of your computer. During the boot process, press the key specified on the screen to access the BIOS settings. The key varies depending on your computer manufacturer, but it is typically F2 or Delete.
Step 5: Enable RAID In the BIOS settings, locate the SATA settings and change the mode from IDE to RAID. Save your changes and exit the BIOS.
Step 6: Install Hard Drives Shut down your computer and unplug it from the power source. Open the computer case and install the hard drives in the available drive bays. Secure the drives in place using the screws provided with the drives.
Step 7: Connect Drives to Motherboard Use SATA cables to connect the hard drives to the motherboard. Make sure to connect the cables to the SATA ports that are labeled as RAID.
Step 8: Configure RAID 0 Boot up your computer and enter the RAID configuration utility. This utility varies depending on your motherboard manufacturer, but it is typically accessible by pressing a key during the boot process.
In the RAID configuration utility, select the option to create a RAID 0 array. Follow the prompts to select the hard drives and specify the RAID block size. The block size determines the size of the data blocks that are spread across the hard drives.
Step 9: Install Operating System Once you have created the RAID 0 array, you can proceed with installing your operating system. During the installation process, the RAID 0 array should appear as a single drive.
In conclusion, setting up RAID 0 can significantly improve your computer’s performance by increasing data transfer rates. However, it requires careful planning and execution, as it involves formatting your hard drives and configuring the RAID array. By following the steps outlined in this article, you can set up RAID 0 on your computer and enjoy the benefits of this powerful technology.